Showing posts with label paint. Show all posts

Tuesday, June 28, 2011

Re-painting Again


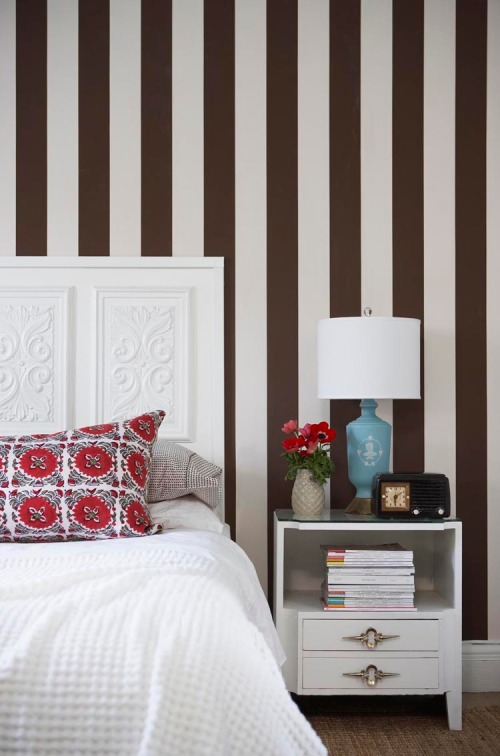
After moving my daughter into her current bedroom during the Great Switch, we painted the room the same lavender-gray, African Violet by Benjamin Moore, she had in her previous space. Her previous room was north facing with not a lot of natural light so the colour was quite muted. In her current room, we find the lavender really comes out with all the light that filters in. The walls especially read "purple" since we hung up the Roman blind. She really likes the vintagey look we are going for with her turquoise end table and diamond tufted headboard. The fabric we chose isnt working with the current wall colour so we will be re-painting again.

Fabrics:


The bottom fabric.


This photo is our inspiration for her back wall:

Source

So while the kids are off visiting their grandparents farm, I will be painting up a storm!

XO Barbara


Wednesday, April 13, 2011

The Tale of Two Tables


*This blog post is brought to you buy two thrifting pals, who never leave a thrift shop empty handed! 
If you want to read the other half of the story you can read it here.

Once upon a time in a land far, far away, where the rain falls freely, giant trees tower above, snow covered peaks loom and the ocean waves crash upon the shore...

Two blogging and thrifting pals, Barbara from hodge:podge and Carol from The Design Pages, were on the hunt for an end table for their lovely daughters. While on one of their thriftting excursions they hunted high and low for the perfect table, one that had good "bones".  But alas, they came away without finding that perfect table {but they found other treasures, that is a another story for another day}

Sniff....

The one friend decided to search Craigslist to see what she could find. One stormy evening she stumbled across a bedroom set that had the perfect pair of end tables. She emailed the seller and asked if they would be willing to separate the set. The seller said "yes". Quickly,  the ever-so-excited-friend emailed the other friend a link and asked if she was interested. $50 bucks for the pair! 
"Why yes!!!" she said, "how perfect!"

The thrifty gals took their tables home and worked their magic on them, transforming them from their 70's lacquered horror to glamourous side tables fit for their princesses.

They went from this:


To this:


Carol  painted her table with a glossy black paint and silver leafed the top and handles to create a table fit for a queen.

Want to know her costs? And how she did it? Visit her blog to find out more.

Want to know how I worked my magic? 


My costs:

Table: $25
Paint: 1 quart Behr indoor latex in satin finish, $18
{colour matched to Benjamin Moore's Spectra Blue}
Primer: Benjamin Moore's oil-based primer, already had on hand {cost $18}
Sealant: Diamond Finish Sealant in satin by Varathane, already had on hand {$14}
Handles were left as-is

Total cost: $34

How I did it:

Using a power sander I sanded the surface of the table as the finish was quite damaged. Then I painted on a coat of oil-based primer with a foam roller for a nice smooth finish and using a foam brush for the crevices. Next, I painted the table with 2 coats of the Behr paint, using a foam roller and good quality paint brush.  Finally, using a foam brush I painted on 3 coats of the Varathane sealant.
Screw back on the handles and 

voila!


And this table lived happily ever after.

The End

xo Barbara

Tuesday, April 5, 2011

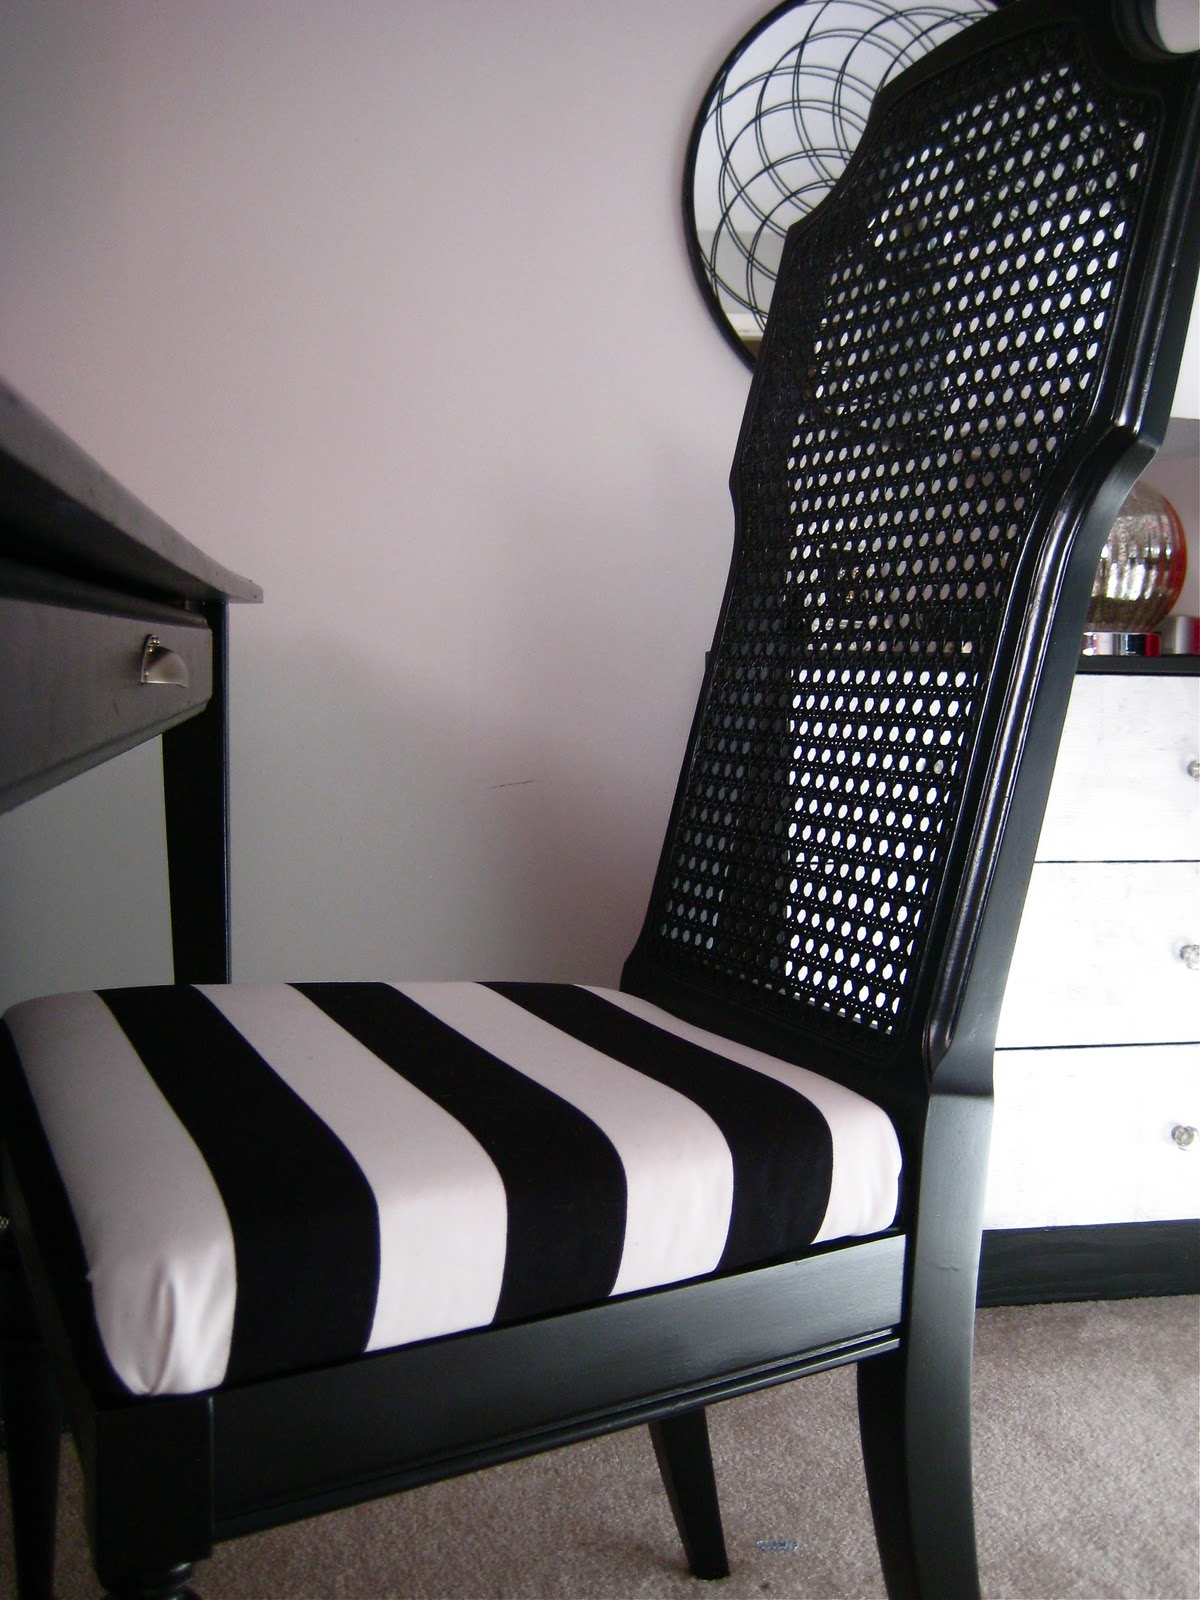
Re-vamped Chair

Remember the saga of the one chair I was painting?


First the paint bubbled.


Then the black and white fabric looked "off"


After a few coats of black spray paint, it now looks fabulous!


I managed to get some quick shots on a rare sunny day.

If you were looking forward to the next part in Painting Furniture 101, I hope to have it up towards the end of the week. Mother Nature is not cooperating, we actually had sleet yesterday! Too cold for my latest painting project where I was planning to photograph and share the nitty gritty in painting! 

Thanks for all who stopped by to read my latest "So Canadian, eh?" interview with Margot Austin, it was such a pleasure to get to know the person behind all those amazing design stories at Style at Home. 

I have so many more amazing Canadians lined up in the next coming weeks, some who are very well known, make sure you stop by!

XO Barbara

Friday, April 1, 2011

Painting Furniture 101: Paint


Glad you came back for painting 101!

 The focus for today's post is the type of paint I use to paint furniture.

Like I mentioned in yesterday's post, the type of piece I plan on painting is what determines what type of paint I am going to use.

For smaller items, pieces with curves, nooks and crannies and smaller surface areas I will use spray paint.
Spray paint can be used to paint so many surfaces. 

Items I have painted are plastic garden pots, picture frames, chairs, trays, brass lamps, fireplace screens, baskets, ceramic ktochkes, lamps, etc.

I love using spray paint, it is the quickest and easiest way to transform furniture and accessories.


Since spray paint colours are limited {at least at my hardware store} I usually use spray paint if I don't need a specific exact colour, that is why a paint sprayer would be so nice! My go-to colours are usually black or white. I have used silver and bronze, but find the patina is too shiny so I "dull" the colour by rubbing black paint and wiping off to give it a more aged patina, like I used on my antique mirror. 

When I decide to roll on paint, here are the few types I use. 

First: Primer

I prime almost ALL surfaces. Primer is the best way to get a smooth and professional finish. It also minimizes paint wear and chipping. Most importantly it helps the paint adhere to the surface.

The type of primer I use for 90% of my projects is an oil-based primer.
The reason I use an oil-based primer is that most Craigslist or thrift store finds have an unknown finish and usually some unknown awful laquer or varnish.
A latex primer would just peel off.  

The beauty of oil-based primer is that you can use latex paint on top!
So if you know your piece was painted with oil, you can paint on the oil-based primer and then top with latex paints! Perfect solution -no need to sand away all that oil based paint or varnish!

My favourite primer is a high-adhesion primer {means it really STICKS}
 by Zinsser


The best part is this stuff dries FAST, no waiting overnight. It is dry and ready to coat in 1 hour!
The drawback is it smells. 

Unfortunately, I ran out of that primer halfway through a project and was too lazy to drive 15 minutes to the big box hardware store. 
Since Benjamin Moore is about 5 minutes away so I have been using this:


This works really well but the drying time is at least 12 hours. Hard for this impatient girl!
The bonus is it doesn't seem to smell as long as the Zinsser primer.

Second: Paint

For most of my projects I use a satin finish paint. It is a personal preference. I would use glossy if I wanted a shiny, modern look to my furniture, but have yet to feel the urge to shine things up! Or use eggshell or flat if I wanted an old world distressed look. 

The range of most paint sheens are from flat to shiny:
matte {flat}, eggshell, satin, semi-gloss and gloss.

For the past year or so I was using Benjamin Moore's Aura paint for my furniture but after using Behr on the end table I am switching!


I found with Aura the finish didn't cure like I wanted and you could see the brush strokes/roller marks because the paint dried so darn fast.

When I painted my daughter's side table I used this:


Loved how it turned out. The satin finish wasn't as shiny as the Aura satin paint and because coverage was fantastic, you couldn't see roller marks!

I use this paint for walls:


This paint is fantastic as it is a primer-in-one paint. But I wouldn't use it on furniture without using an oil-based primer on an unknown surface, I learned the hard way over a year ago when I painted a Billy bookcase without using an oil-based primer and the paint peeled right off.
Only use this without a primer if you know you are painting over latex.

Third: Sealant

I use a sealant over top of  paint on surfaces I know will get lots of wear such as desks, dresser tops, table tops. etc.

My favourite is this:


It goes on milky but dries clear. Using a minimum of 3 coats, it dries to a nice hard finish! 


There many varieties of sealants out there, some you can spray, while others you wipe-on. I have yet to try them all.

When choosing a sealant you need to choose one that has the same sheen as your paint or comes in a sheen you want. They too range from flat to shiny.


Come back next week as I share my spray painting and painting techniques putting my tools and paint to use!


PS: Here is a fabulously funny joke my son told me while I was painting the bathroom last week:
Why was the blonde wearing a fur coat and denim jacket while painting?
Because the label on the paint can said: "For best result put on 2 coats!"


XO Barbara

Thursday, March 31, 2011

Painting Furniture 101: Tools

Thanks for all your wonderful comments on the end table I painted for my daughter J's room.
In all honesty I was really stepping outside my comfort zone by painting it a colour other than black, red or white! We had fun choosing a paint colour and glad we went with our gut!


But many of you asked how I painted it...

Jen said...


I agree with all the comments above: great colour, great makeover! It's really lovely. And you got such a nice finish on it! It looks professionally sprayed. And it's great that your daughter loves it. Smart girl.

Rosa @ www.flutterflutter.ca said...


Turquoise and purple... my favourite!! Good job! Do you own a paint sprayer? Is that your secret?

 Since you asked, I'll share what I use to paint my wonderful thrift store and Craigslist finds. 
First, I determine whether I'll use spray paint or roll paint on. I do not own a paint sprayer, wish I did though! When I spray paint I use spray paint purchased at my local hardware store. I prefer to use Rustoleum brands of spray paint. 

I do find their paint colour and sheen varieties limited, therefore I only use it on furniture and items that don't have a lot of surface area or have curvy and wavy surface areas, such as a lamp, chair or frame and  when I want to use a basic colour such a white or black.
I will get into more detail about the different spray paints in an upcoming post.


For large pieces of furniture with large surface areas I roll on paint. In order to get a smooth finish, you need to use the right tools. 
Here are the basic tools I use:

1 and 2: I sand most pieces before I start to paint, especially if they are going to get a lot of wear, such as a desk. This ensures a smooth surface and adhesion of the paint. If the piece has dings or the finish is chipped I whip out my lovely sander {1}I stole borrowed from my dad to smooth and prep the surface. Less damaged items I scuff the surface with my {2} trusty sanding block. 


3: For a nice smooth finish I use foam rollers, I have 2 sizes based on the size of the surface area I wish to paint. 
4. I use a paint brush for cutting into edges or  into places the roller doesn't cover. The key is to buy a really good quality brush. Don't cheap out on your tools, they make a huge difference in the final look.


5. I use a foam brush when I am painting with oil based paints, I just throw it out when I am done, eliminating clean-up. I also use a foam brush when I paint with verathane.


Let me emphasize the importance of not buying cheap paintbrushes and rollers, invest in good quality, with care they will last you a long time.


 They are the key to achieving a smooth and gorgeous paint finish and to eliminate any heartache along the way!


 Here is my "behind the scenes" photo. Our furry friend, Henry was curious and decided to "help."


Isn't he so cute?


Come back tomorrow when I share how I put those tools to use - my painting techniques and tips!
XO Barbara

Tuesday, March 29, 2011

End Table Reveal


This is the day you have all been waiting for with bated breath, the reveal of my latest painting endeavour.

Da-da-da-da.......

A little leg....


Let's look at the before:


From 25 bucks....

to 

lookin' like a million!


The headboard is the second diamond tufted headboard I made. Want to make one for yourself?
 You can follow the step-by-step here.

The bedding is changing and I am not sure about the shade/lamp combo, it has bothered me for a while. Can't quite put my finger on what is wrong.

Still need to do the final touches on the room 
{and finish the other daughter's room as well , he-he, that one has been taking me - gulp- almost a year}.

One a side note: 

J, who loves her new end table celebrated her 15th birthday yesterday.
Yup, my baby girl is 15!


{yes, that is my son in his plaid shirt- plaid pj combo, such a stylin' guy}

More exciting news: 

I have THREE superstar Canadian designers who have agreed to participate in my "So Canadian, eh?" series!

Stay tuned!

Friday, March 25, 2011

Painting Party


Yesterday while two of our children went skiing to Whistler with their dad 
and the other was at her lifeguard training, I decided to have a painting party!


Yes, I decided I liked the striped fabric {it will match the drapes} and with a few coats of Canyon Black by Rustoleum it now looks amazing.


Next, this end table got a coat of paint after the primer dried.


Finally, I painted our master bathroom, bye-bye peach.

Not sure I like the white I chose, but I am tired of painting. I think I'll live with it.
Photos are on the other camera, will have to show you next week when the room is all gussied up.

Anyone else working on painting projects?

Don't forget to stop by on Sunday when I feature another "So Canadian, eh?"

XO Barbara

Friday, January 7, 2011

{games room: inspirational photos}


 My attempt is to create the room on a very strict budget. So far I have only purchased paint, the best money spent so far. For only $45, the room changed dramatically. It went from a gray-lavender to a serene watery blue, Woodlawn Blue, a perfect backdrop for this space. On Wednesday I shared with you the fabric that is inspiring the colour scheme of the space.


 Currently we have a wall of Billy bookcases in a dark stain to house the kids books, photo albums and other reference books along with our ugly computer desk, which is now too big for the space. Hopefully I can source a desk, sofa, side table and TV console/sideboard/bookcase for the room.

Want to see the photos I hope will inspired the design direction of the room?

The first is one of my favourites!


What great idea Emily had using a circa 70's sideboard Craigslist find as a TV console. Perfect for storage as well, I could get our crafts and games to fit into a piece of furniture like that, freeing up space in the closet. We have the same television and I love she incorporated it into a gallery wall. This really de-emphasizs the television, creating a more visual pleasing wall.

Or I am thinking of lower bookshelves to run along the wall with the TV mounted on the wall surrounded by larger scale art such as this basement room in the 2010 Princess Margaret Hospital Lottery home designed by Canadian House and Home.

 Don't the sofas just call out to you, "sit down, curl up"? They are the Ektorp sofa from Ikea, I am thinking they would work perfect in our space. 

Priced right and kid friendly.


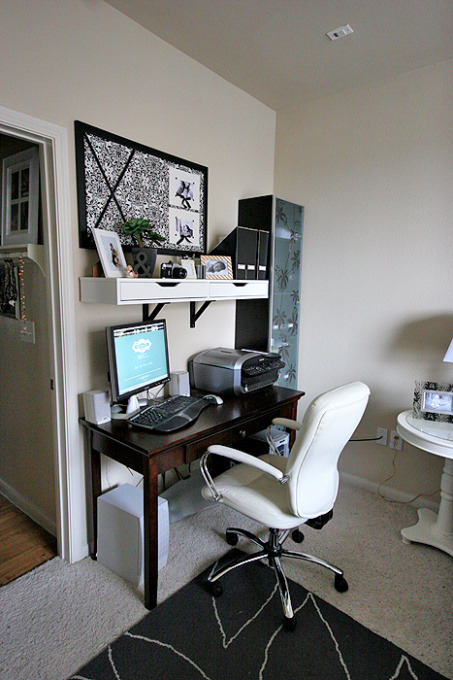
The newly created games room will have have a office/computer zone in the corner, I love how this is a stylish yet compact office space.

 Perfect for our room!


This is one of my favourite playroom photos.

What a comfortable, casual and colourful space, perfect for a family to hang out, something I hope to create in our room. 


I guess you would all like to see photos of the room?

OK, here is what the room looked like on Tuesday.

Scary, 
I know.


You'll have to wait until next week to see the current state of chaos the room is in {if you dare}.

XO Barbara

Wednesday, January 5, 2011

{the great switch: part II}

The walls are painted in 2 of the 3 rooms.

My amazing daughter {she is the youngest, of the two girls, almost 15} helped me paint all day Monday; she is the one who got the whole switch process going by helping draft out floor plans for the rooms on the weekend.


Yesterday I moved the contents of 3 closets and then decided to purge. Its amazing how easily a family can accumulate junk stuff that just takes up space! Feels good to sort and organize, except my back and hands are sore. Moving furniture, boxes and painting can be a real workout.

 Hmmm... think I need to start running again.

The games room is still in disarray but it feels good to finally get things somewhat under control.

Some furniture needs to be re-painted and sourced, I am always looking for an excuse to hit Ikea, furniture, fabric and thrift shops.  

Let me show you the fabric that is inspiring the colour scheme of our newly carved out games room space. I am hoping to create a cozy, vibrant, family friendly space. This colour scheme is a brave attempt away from my usual black and white. My resolution this year is to inject some colour and to play with patterns. The games room is a perfect laboratory to experiment in!


Pulling colours out of the fabric I chose to paint the walls Woodlawn Blue, a Benjamin Moore colour that I had colour matched using Behr paint with built-in primer. This paint goes on so smoothly and has fantastic coverage, not to mention it is low VOC, so it has minimal "paint" smell.

I am also loving Raspberry Truffle as a great red accent for the room, maybe a side table in this colour?


The fabric was purchased in November on sale for $7/m! I only bought 2 meters and wish I had purchased more. I am hoping the fabric store will get more in, then I might buy more to make drapes or recover a chair? {Taking a cue from Sarah 101 yesterday where she suggested using a large floral print on an accent chair}


I am going to have fun with this space!

Now if I could only win the lottery, then I could go really crazy!

Monday, August 30, 2010

~Map Mod-Podged Monogram ~

I have been feeling particularily crafty these past weeks. It must be an avoidance tactic, avoiding finishing real projects around the house.

So....
Here is another simple (and cheap) project that is seen everywhere... 

but I like it. 

One of my favourite bloggers and friend, Alissa at 33 Shades of Green, made some decorative letters for her home and I decided to try it for my son's room.

Are you dying to make one? Here's how....

First you will need a wooden letter. I bought mine at Michaels.


Next, paint the edges using a colour of your choice and method of your choice. I used black craft paint but you could use spray paint, leftover wall paint, etc.


After a few coats of paint have dried, lay the letter on an old map, trace and cut it out. 


*Make sure you lay it right side up. I laid it wrong side down, and then when I wanted to glue the traced piece out and it was backwards - sheesh!


Using mod podge glue the paper piece onto the wooden letter, smoothing out bubbles. Then paint a thin coat of mod podge over the entire piece and let dry. Oops  - forgot to take photos of that step!


And then...

Voila!


One more week and the kids are back at school. Hopefully I can get into a routine again and finally finish my daughter's room (I have really procrastinated on that one!)

Also....

Thanks to Jen at Tatertots and Jello for featuring my subway/eyechart art that I made for my son's room!


Linking to:
Frugal Friday @ The Shabby Nest
Frugalicious Friday @ Finding Fabulous